Search This Blog

Monday, October 20, 2014

Selfies

This morning I wanted to test a new lens camera combination and had no one handy, so decided to do a self portrait, also known as a selfie.  Selfies have been done since at least the early 1900s, but have become popular with the advent of digital photography.  Unfortunately, many that I have seen posted on Facebook and other social media are of pretty poor quality.  Usually it's due to poor lighting, although sometimes poor focus, wrong F-stop or shutter speed, or poor composition, too.  But if you know what you're doing and follow the basic rules, a pretty good image can be captured.  For the image below, I used filtered window light to soften the light hitting me, shot at an f-stop of 2 with a 50mm lens to throw the background out of focus, and used a tripod.  And I shot in RAW.  To diffuse the light, I used a translucent shower curtain liner over the window, although could have used white rip-stop nylon, too.

Two of the four photos that I shot for this I liked.  The one I liked best I did some minor post processing on (cleaned some hair that was across my face, lightened some shadows).  The result is below.  Had this been a photo of someone else, I would have gone over the image with them, finding out if they wanted more or less post processing, and what they might want done to it.


If you click on the photo, you can see it pretty much life size - that may be a scary thought, ha ha.

If I had a remote trigger for this camera, I could have stepped back a bit farther from the camera.  However, the remote trigger was my left arm and that was as far as it would go.

I hope that this lets you see what can be done.  I know that not all selfies will allow for the amount of control I used for this one.  However, reflectors can also work very well, even when the reflector is the side of a building or sand at the beach.

As always, hope you all had a great weekend and a beautiful week.

Tuesday, October 7, 2014

Photography and Shades of Gray

Very few things in life are black and white.  Even what is called black and white photography usually contains many shades of gray.  I was reading another blog which asked the question, "Is a picture really worth 1,000 words?"  In that post, the author threw out a challenge - to post a photo and describe it in 1,000 words.  That gave me the idea for this post.  I'm not going to take that challenge today (perhaps in the future), but want to write about a few things in photography that are shades of gray.

One of them has to do with cameras.  And the shade of gray has to do with whether a camera is "professional" or what these days is called "prosumer."  In the past it might have been called a beginner, amateur, or hobbyist camera.  But cameras that are now called or considered prosumer were professional a few years ago.  As technology has gotten better, they've been downgraded.  But I would not say it's an either/or situation - rather, it is a shade of gray.  As I had mentioned in a previous post last year, my old Canon EOS 10D and 50mm lens did an excellent job.  So where is the line between what is acceptable for professional photography?  I would say it's blurred (the line, not the photos!). With my current camera, I can make larger images with less noise, shoot in lower light levels, and the camera will most likely last a lot longer before failing.

Another area that can be gray is professional vs snapshot photography.  This is a bit more black and white, though, as most people who shoot snapshots don't understand lighting, posing, composition, etc.  Both have their place - I have professional portraits of my parents and myself that were taken over the years, and hundreds or thousands of snapshots.  The differences are obvious - I'm so happy to have both.

Here are a few snapshots (all were shot with film, then scanned):

My father and two brothers (all on the left) - pony rides in Arizona 


My father, older brother, and me - taken by my mother while playing poker. 


My mother and father at Christmas in Arizona. 


My two younger brothers.


And here are some professional portraits (first two extremely old - probably shot sometime in the late 1800s):

My great great grand uncle. 


My great grandmother with my great great grandmother.


My cousin (father's sister's daughter).


And two of the best, most honest, and wonderful people I've ever known - my mother and father.  

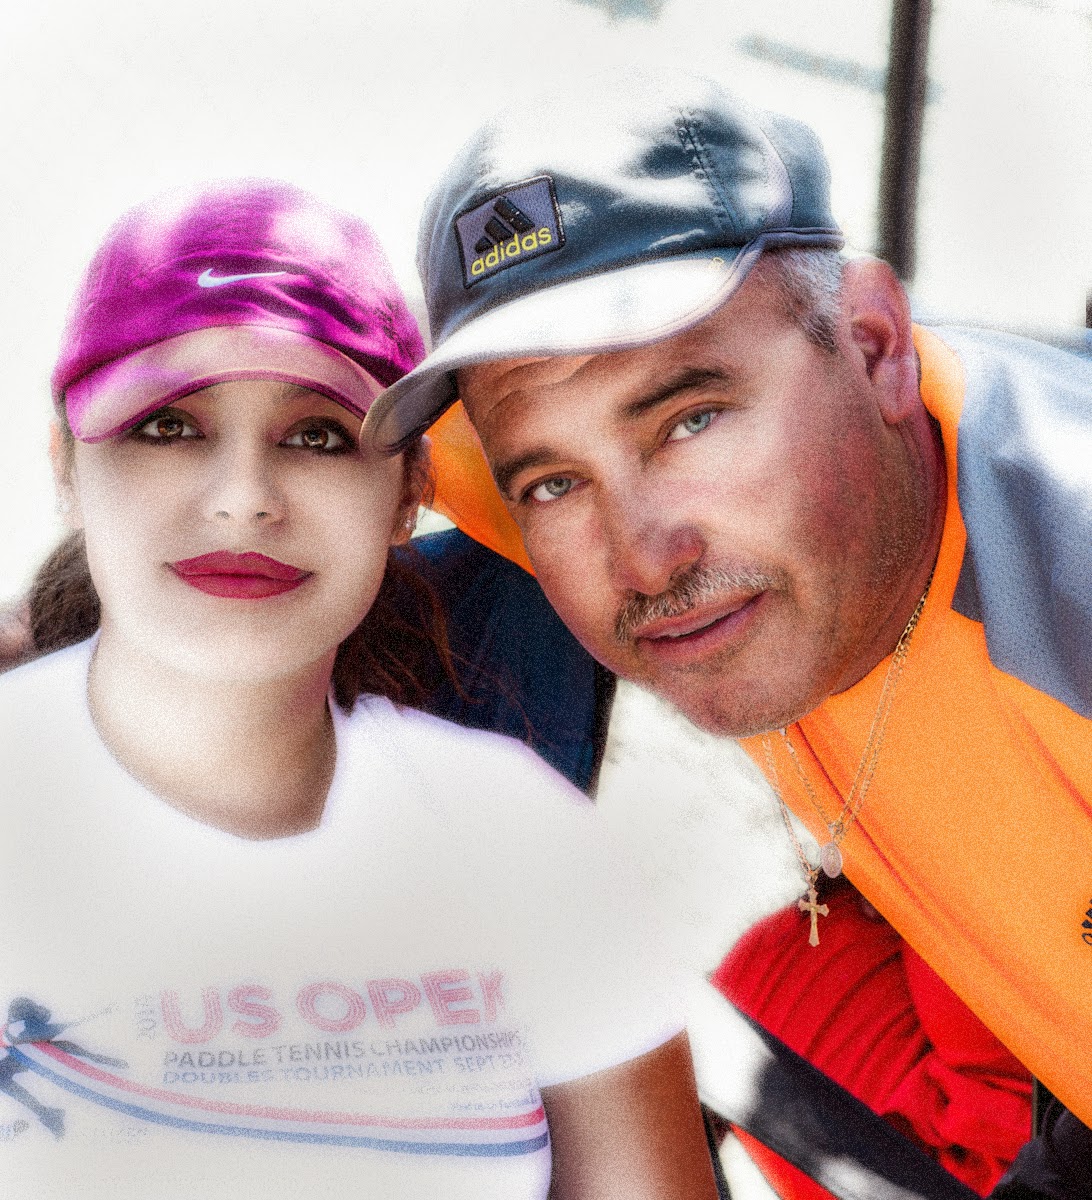
The post just below this one is a photo that would be in the shade of gray area for portraits - not quite a professional portrait, but more than a snapshot.

Hope you've enjoyed my thoughts and photos today.


Sunday, October 5, 2014

Photography Editing Continued

In the previous post, you saw some of what photo editing programs can do.  Things like cleaning up backgrounds, beautifying faces, lightening up and darkening different areas.  In this post, I've changed the same image to B&W in a few different ways, although there are almost unlimited variations possible.  And I've also changed the color presentation a with a few of the almost infinite possibilities.

Why would you choose to have something done like the below examples?  Perhaps you wouldn't want your portrait to look similar to others, maybe one of the variations just clicked with you, or you were after a more artistic rendering.  You could even have the final image look like an oil painting - there are programs that do that.

Here is the same photo from the previous post in several variations:

Original photo cropped - notice person in background and shadows on face. 


Removed distracting person, fixed shadows on face, but kept original colors. 

The remaining photos below are a few samples of what can be done.  As mentioned above, it is really unlimited, but I liked these variations the best.


What else could have been done?  The whole background could have been dropped out and changed.  Perhaps have them sitting by a stream or at the beach?  Of course.

Hope you enjoyed this post.

Friday, October 3, 2014

Photography Editing Software Programs

Below are 5 images from the same cropped photo.  It was shot unposed with a Nikon in RAW mode with a 50mm f1.8D lens.  I first opened the image with Lightroom, made some minor adjustments, cropped it to you would be able to see the differences better, and then exported it as a jpg file.  Next, I opened it with Portrait Professional 12.2 (the latest version which I bought yesterday), and played with many different settings, mostly on the young lady.  The 2nd - 4th photos are from those variations.  I still needed to make some other minor adjustments for lighting on her face and also for the lipstick and some blemishes on the skin, as well as removing part of the person behind the guy.  I used Photoshop to do this.  Had this been a planned shot, there would have been no one else in the photo to distract from them and I would have taken more than 2 photos.  But this is just to show what can be done with photo editing software to a properly exposed image shot in RAW mode.


It's pretty amazing what some minor adjustments can do in a photo.  The next step in this photo would be to completely remove the person behind them, which I did in the photo below.


As always, click on the photos to see a larger size.

Hope you all have a great weekend, stay healthy, and enjoy all that you do.  

Wednesday, October 1, 2014

More Paddle Tennis Tournament Photos from Sep 27 - Sep 28, 2014

Wow!!!!  It's already October - can't believe it.  Anyway, the photos:


More action shots in my next post here.  Happy October!